
Tips to Use Your Mic Well: How to Make Great Shows
Finding Good Mic Spots and Using the Proximity Effect
Using your mic right goes beyond just where you put it. The best singing uses smart mic spots and sound tweaks. Learn to find your mic’s sweet spot and use the proximity effect to shift your voice from soft whispers to loud shouts. 베트남 KTV
Better Mic Placement
Where you place the mic should change with how loud you sing and the sound you aim for. Place the mic 6-8 inches away for normal singing, 2-4 inches for soft voicing, and 8-12 inches for loud parts. Adjusting this gap during your show is key.
Boosting Voice Range by Mastering the Mic
Great singers shine by handling their mics with care. Key moves include:
- Moving the mic off-center to reduce harsh sounds
- Changing how close you are to alter loudness
- Setting up for sweet spots to get different tones
- Using the proximity effect to get deep bass
Making Your Show Better
To master mic dynamics, you should:
- Watch your breathing
- Move wisely
- Pin down where feedback happens
- Check the sound as you sing
Getting to Know Your Mic’s Sweet Spot
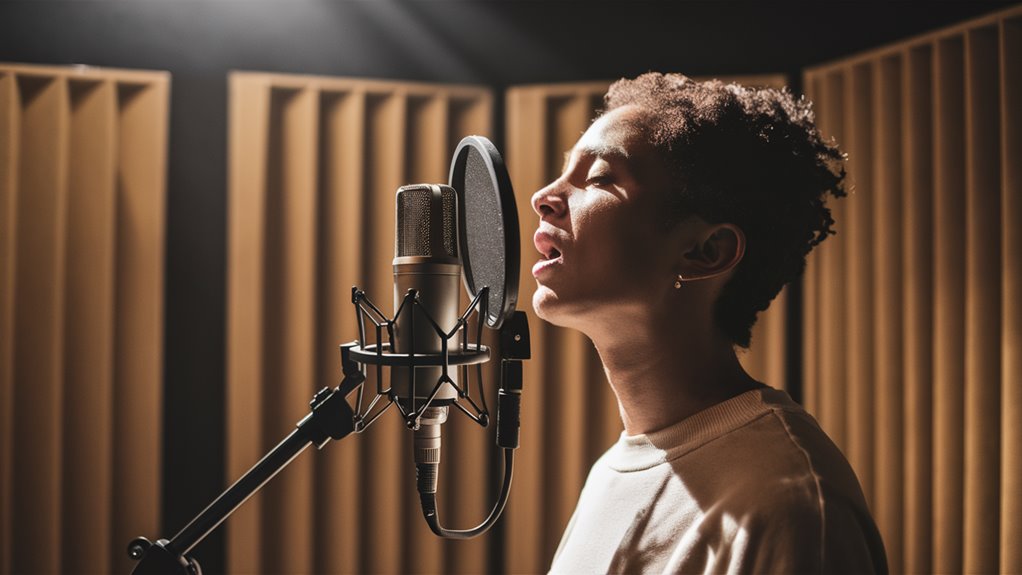
The mic’s best spot is where it catches top sound. Begin by standing 6-8 inches from the mic while keeping your voice level. This spot avoids usual sound issues like proximity noise and room sounds.
Placement for Different Mic Types
Cardioid Mics
Stand right in front of the mic’s head where it hears sound best. The cardioid shape leaves out side noise and focuses on your voice.
Omnidirectional Mics
Keep the same distance all around the mic. All-around patterns get sound from every side, making where you stand less important, but your distance still matters.
Dynamic Mics
Stand closer to dynamic mics than you would with condenser ones due to their low sensitivity. This nearness keeps your words sharp.
Making Your Recording Spot
Mark your spot with floor tape or marks on the mic stand. The right spot shifts with how loud you are:
- Step back for loud singing
- Get close for quiet parts
- Listen with good headphones to hear the real sound
Controlling Movement and Distance
Top Tips for Controlling Mic Distance
Mastering Movement for Great Sounds
Keeping a fixed mic distance is key for high-quality records. Knowing your sweet spot well through practice makes sure you always get the best sound in shows.
Key Distance Control Tips
Using floor marks sets solid places to stand for ideal spots. Smart tape use keeps your spot right, especially in moving shows. Using the mic stand as a fixed point lets you adjust distance well with simple moves.
Recording Tips for Instruments
Recording instruments requires special placement for the best sound. For guitar setups, put the mic at the neck-body join for the best tone mix. Distance marks and real-time sound checks ensure top sound during your show.
Thinking About Mic Patterns
Different polar patterns need various placement styles:
- Cardioid pattern spots
- Omnidirectional mic places
- Figure-8 pattern distances
Setting Levels Right for Live Shows
Complete Guide to Setting Levels for Live Shows
How to Set Levels Right
Setting levels right is critical for the best live sound play, ensuring your sound is clear through the sound system. Knowing how to manage levels stops unwanted noise while keeping signals bold from start to finish. Flicker & Blaze Blackjack: Pairing Fleeting Tics With Rapid Splitting Fire
Starting Mic Preamp Levels
Start by setting mic preamp levels for your loudest singing. Maintain 15-20dB space and tweak gain until peaks hit about -18dB on meters. This makes your sound strong but not too loud.
Handling Multiple Sound Inputs
Keep stable gain levels across all mics when using more than one.